Mar 26, 2015

How to have some fun with Colour Mixing Theory

NEW WORKS FROM THE STUDIO OF ART BY WENDY

Working on Theory,
Having Fun,
Should they really be in the same sentence??!!

Are you wanting to learn more about colour but tired of doing colour patches?
I am.
I want to have fun!!

My latest experiments have really got me excited.  As many of you have noticed over the past few months I have been dabbling with coloured pencils.  (Actually, I have spent a fortune on a few large sets of pencils!! Prismacolor and Faber-Castells)
THE SECRET PLACE - Coloured Pencil, 5 x 7 
The problem is I was tired of working with patches of colour.  They told me lots, I agree, but seeing them in isolation did not help me understand how they work in the picture.  You know what happens, you put a colour combination down and it looks awful.  But once you get things happening around it and coordinating with it, things are not so bad.  In fact it often turns out to be the right kind of colour for the spot!!

Well, my coloured pencils have really opened up the Colour World for me.  Using my pencils on Mylar film has been a wonderful boom.  First of all my colours are vibrant, they can be mixed and best of all I can actually erase a mistake without wrecking the picture!!  (Well not completely but lots better than in watercolour and you don't have to wait for it to dry!!)

I have found that I now have "No Fear"!!  I found myself attacking each area with a "hmmmm... let's try this.  What about this?  What if I add that?"  Very exciting! And if I really don't like it, off it comes.
The Secret Place - detail showing the underglazing for the leaves
The Secret Place - detail showing the leaves after adding the greens. 
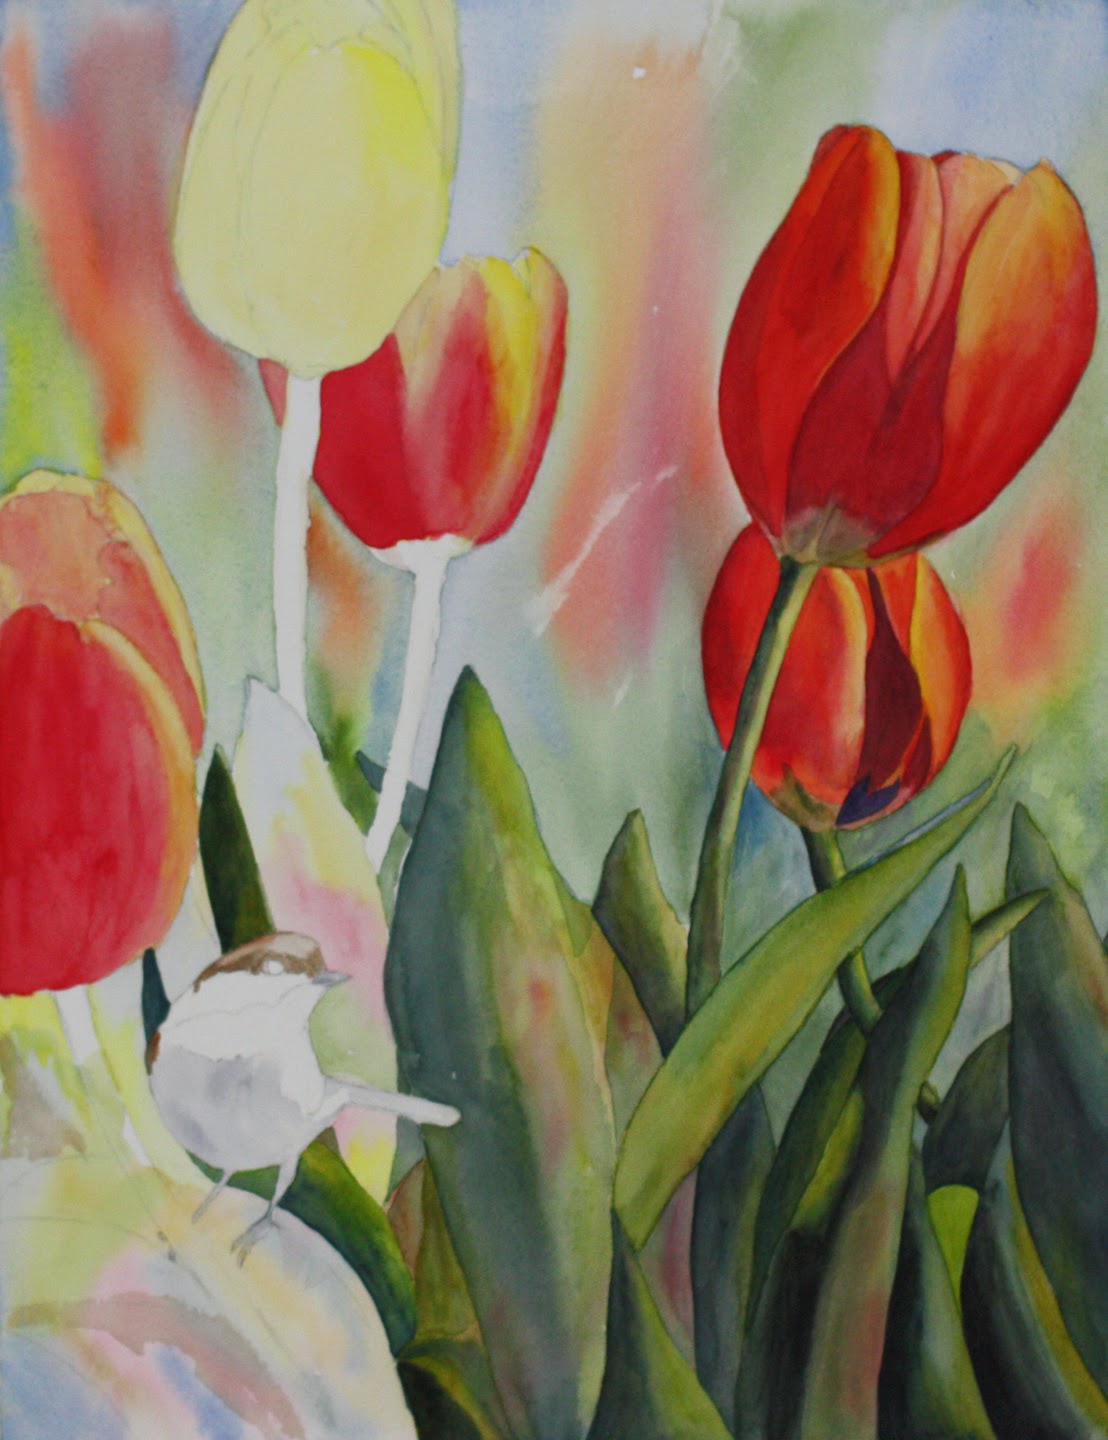
Take a closer look at the two detail shots of  "A Secret Place".   The leaves are a perfect example of some wild colour mixing.  I laid in some red, indigo blue, ochre, yellow as an underglazing.   Then used my two greens a really dark cold green and a lighter warm green, I coloured on top.  Sometimes varying the pressure and mixing the layers: the greens separately and sometimes a layer of each.  For the really shadowy areas I returned with the indigo blue.  It was very interesting to see how the colours reacted and changed depending on the mixture. Including the reds and yellows really tied my flower colours to the leaves and gave them lots of interesting colour variations.  And the darks really had lots of life. On the detail picture on the left I used a bit of black for the dark.  You can see on the finished one on the right, the black area is really just a boring dark hole.  No exciting colour mixing happening there.

 So have some fun. Learn some Colour Theory.

Let me know how it works for you, I would love to hear your comments.

Have a great day,
Wendy
Contact me to purchase my work.  Collectors enjoy a 10% discount on original work.
Please feel free to share my post using the buttons below.
Follow by Email using the sign up box at the top of  my page. 

Mar 19, 2015

How to paint the background?

NEW WORKS FROM THE STUDIO OF ART BY WENDY

Ideas are flying for the subject
the plans are ready
but 
what to do with the background?
It should be a simple answer 
but somehow 
it becomes the question of the century!

I am not sure but maybe it is more of problem for watercolour and dry medium work.  It always seems to plague me when working on my pencil work as well.
Spring Friendships - 13 x 17 - Watercolour
For Spring Friendships I decided to try something different.  Taking direction from oil painters, who block in  their values and shapes before moving forward, I decided to do some under painting. I wet my paper and laid in my colours in the background.  My main concerns were to keep the value in the low to mid value range and to have shapes that might suggest leaves and flowers.  I left the area for my bird open as I was still unclear how I was going to deal with it.  I also did not do the area of the leaves.  As you can see I changed my mind once I got under way and also did some light washes in the leaf area as well.

Just underway - note how the background wash is already beginning to suggest flowers, leaves and sky
 It really was quite amazing!  As I worked more and more on the flowers and leaves my background began to look more and more like flowers, leaves and sky.  It was like it was painting itself!!

Notice how the under painting adds interesting colours to the the leaves
The under painting in the area of the leaves also worked really well.  As I painted the leaves, some of the under painting showed through and they really took on a new life.  I was very pleased with what was happening. Looking back on it now, I am not sure I would do the under painting for both the background and the leaves at the same time. I did like having that control of where things went.  ( I know things need to be loose but I do like a little control!)

My little Chickadee - notice the pinks and greens on him to blend him into his setting
There was no under painting for the chickadee. This proved good and bad.  Once he was painted he stood out way too much.  I really had to work on blending him back into the picture.  I used pink and green for the reflections on him as well as graying down his white.  (Hard to believe as the white still reads as white.)  I also darken his surroundings so everything was a more similar value.

The final touch was to wet areas of the background and darken the colours and clean up a few edges.  The challenge here is not leave watermarks.  My solution was to wet a much larger area than I needed and use a light touch.  You don't want to lift that paint off!!
 Spring Friendships will be a favourite for me.  It combines two of my favourite subjects: the tulips coming up with all the bright promise of spring; and our friendly chickadees  the garden a feeling of life and excitement!  Enjoy.  

To see the planning process for this picture see my last post "Will a Tulip Leaf hold a Chickadee?"  

Contact me to purchase my work.  Collectors enjoy a 10% discount on original work. 

Have a great day, 
Wendy
Please feel free to share my post using the buttons below. You can now Follow by Email.  See sign up box at the top of my page.


Mar 11, 2015

Will a Tulip Leaf hold a Chickadee???

NEW WORKS FROM THE STUDIO OF ART BY WENDY

Not your usual question,
But very important 
to me!!!

Tulips have been on my mind.
I am sure it is because tulips and chickadees are everywhere.  Both my husband and I have been picking up bunches of tulips whenever we go out!!  They are just so bright and colourful.  At the same time the chickadees have returned to our feeder and greet us every morning.  It  seems like a perfect partnership for a Spring picture!


A few of my chickadee pictures
 Planning is a big part of any picture. Sometimes it seems to take forever and all I want to do is "get at it!!"  This picture had been percolating in my mind for days, waking me up at night as I worked out how it could look.  But I always came back to the same question, 'would the leaf hold him"?  Could it really happen?  Would the chickadee sit there?  (Those little guys don't seem to sit anywhere very long. )  

So first I had to confirm a tulip leaf would hold a chickadee. 

After several experiments, without a chickadee (I used a small weight ) I determined that it could.  The leaf had to be bent and the chickadee had to be near the arch of the bend.  Fortunately the good weather had my bulbs sprouting.  This meant I could watch the birds flutter about and see if they would perch near the leaves.  They did!!

Now I needed tulip pictures with bent leaves.  Back to my picture files.
Tulips - Draft 1 - with cropping
Tulips - Draft 2 
I found a couple that could work.  Draft 1 had some lovely spots where a chickadee could sit but the stems would have to be shortened.   Draft 2 was my choice as I liked the lighting on the flowers and the leaves seemed more like a garden arrangement.  It too would need some adjustments but the main idea was there.

Finding my chickadee proved a little harder.  I searched through my files looking for a picture.  I love the little chickadees and see them all the time but some how I didn't seem to have many pictures.  None seemed to have that interesting stance to go with my idea.  I finally chose the little guy on the lower right from the collage above but. . .

He was facing the wrong way!  
I tried reversing him, the lighting seemed to work and I was ready. 
Well nearly!
My little friend after he was flipped!!
Now it was time to put him into place. I plopped him on the leaf and made my final adjustments: move a flower here; put a leaf there.  Things looked good and I knew I was ready. 
Chickadee is ready and markup is done. 
No, I haven't finished the picture, yet!  
After planning comes drawing and painting. Still lots of work!   It is well underway though and should be ready for next week's post!!

Tune in next week to see "Spring Friendships" completed!! 

Contact me to purchase my work.  Collectors enjoy a 10% discount on original work.  
Have a great day,
Wendy 
Please feel free to share my post using the buttons below.  Also you can now Follow by Email.  See the sign up on the box on the top right hand side of my page.  


Mar 5, 2015

Feather Soft, Gritty Bumps with a Pencil??

NEW WORKS FROM THE STUDIO OF ART BY WENDY

Texture can create so much interest in a piece of Art
It's one of the reasons Original Art is so special!

In thick oil or acrylics the brush or palette knife is a natural tool

But . . .

Creating Texture with a pencil is a different process.

On the Watch - 13 x 16 - Graphite
Drawing a picture like "On the Watch" requires a lot of planning as you can imagine.  In that planning process I always think about texture.  I really like my birds and animals to have that feather soft look.  I often hear comments on my dogs and cats like,  "the fur looks so soft, you could pet it".  I want my birds to have that same feeling,  their feathers need to have that smooth, sleek look as they fold around the body.

At the same time I do not want the sand and trees to be smooth and even though the rocks are smooth I do not want them as smooth as the eagle's feather.  So decisions are made early on as how things will be treated.

My process in drawing is two part.  I draw and fill in areas with a soft pencil.  I use Rising Museum Board to draw on which has a 'bit of a tooth' or bumpy surface.  Using my soft pencils, I glide over the tooth dropping graphite in between.  This leaves little white flecks which gives the area a gritty look.  In the sand which I want a light value, I use harder leads, like a B, F or 2H.  But with the rocks and trees I use softer leads, 4B, 6B even an 8B.  This gives me darks but still leaves the gritty texture.

On the Watch - Detail
The soft smooth texture on my eagle is created differently.  Here I am flattening the tooth of the paper to get that smooth look.  For this I use a blender or tortillion.  To achieve the darks it takes many layers as each time I blend I am also picking up graphite.  Above in the close up of my eagle, you can see the gritty texture of the rocks and sand while the feathers have a soft, smooth texture.  
Blenders/Tortillions - wads of rolled paper, I like several different sizes

My picture "On the Watch" was inspired by salmon runs that happen here each fall.  The spawning salmon are moving up the Fraser River dying on their journey and after they spawn.  At the peak of the run the shores of the river are lined with dead fish and the smell . . .    Well let's just say it is something else!

The Bald Eagles gather for this Salmon Feast, it is one of their major migratory stops in the late fall.  You can hear them screeching as they announce their find and declare their ownership.  This eagle has just found a dead salmon washed up on the shore and is about to feast on it.  But he has to keep sharp watch as at any time others may come and challenge him for a piece.
Contact me to purchase my work.  Collectors enjoy a 10% discount on original work.

Have a great day,
Wendy